Quick Start
How to add Dynamic Move to your avatar and get it moving in VRChat.
1. Preparation: install Modular Avatar
Dynamic Move is installed into your avatar with Modular Avatar. If your avatar project doesn't have it yet, add it first.
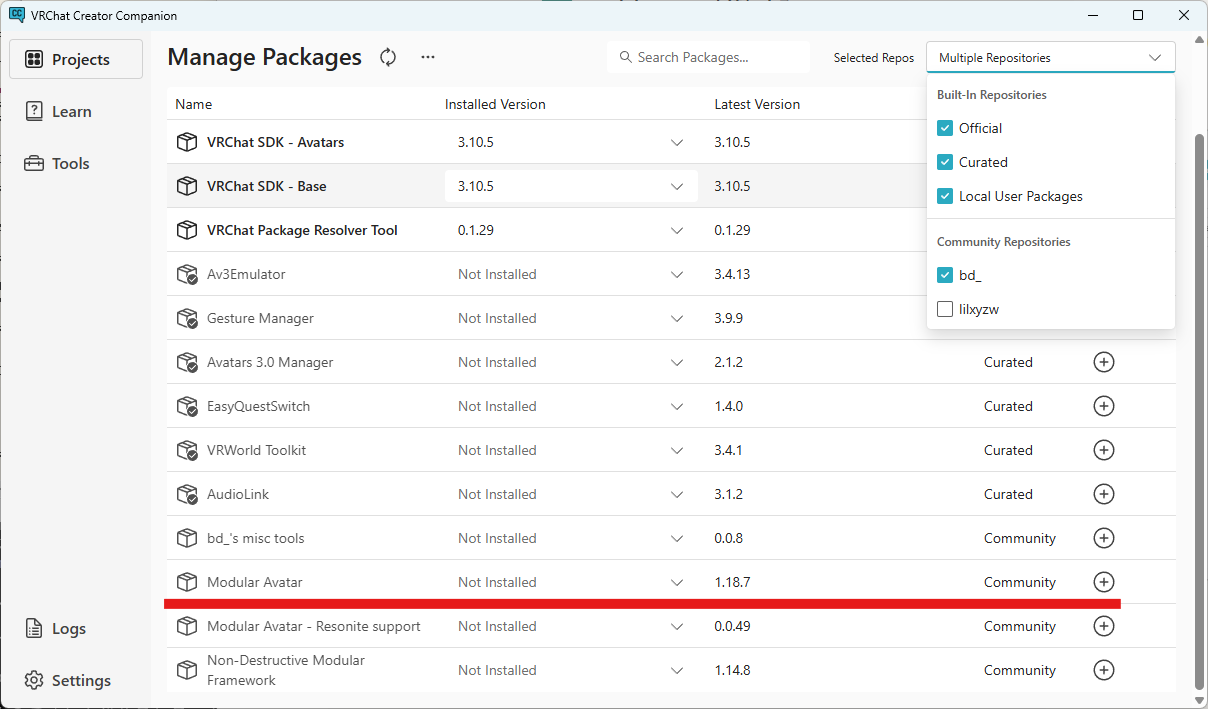
- Open the project in VCC In VRChat Creator Companion (ALCOM and similar tools also work), open Manage Project for your avatar project.
- Add Modular Avatar Add Modular Avatar from the package list (NDMF is installed along with it). If it isn't in the list, add the repository to VCC from the official Modular Avatar website.
2. Download from BOOTH
- Open the BOOTH product page Open https://robvrc.booth.pm/items/8913972.
- Download the unitypackage
After purchasing (the Trial needs no purchase), download
DynamicMove-<version>.unitypackage. The Trial is namedDynamicMove-Free-….
3. Import into Unity
- Open your avatar project in Unity
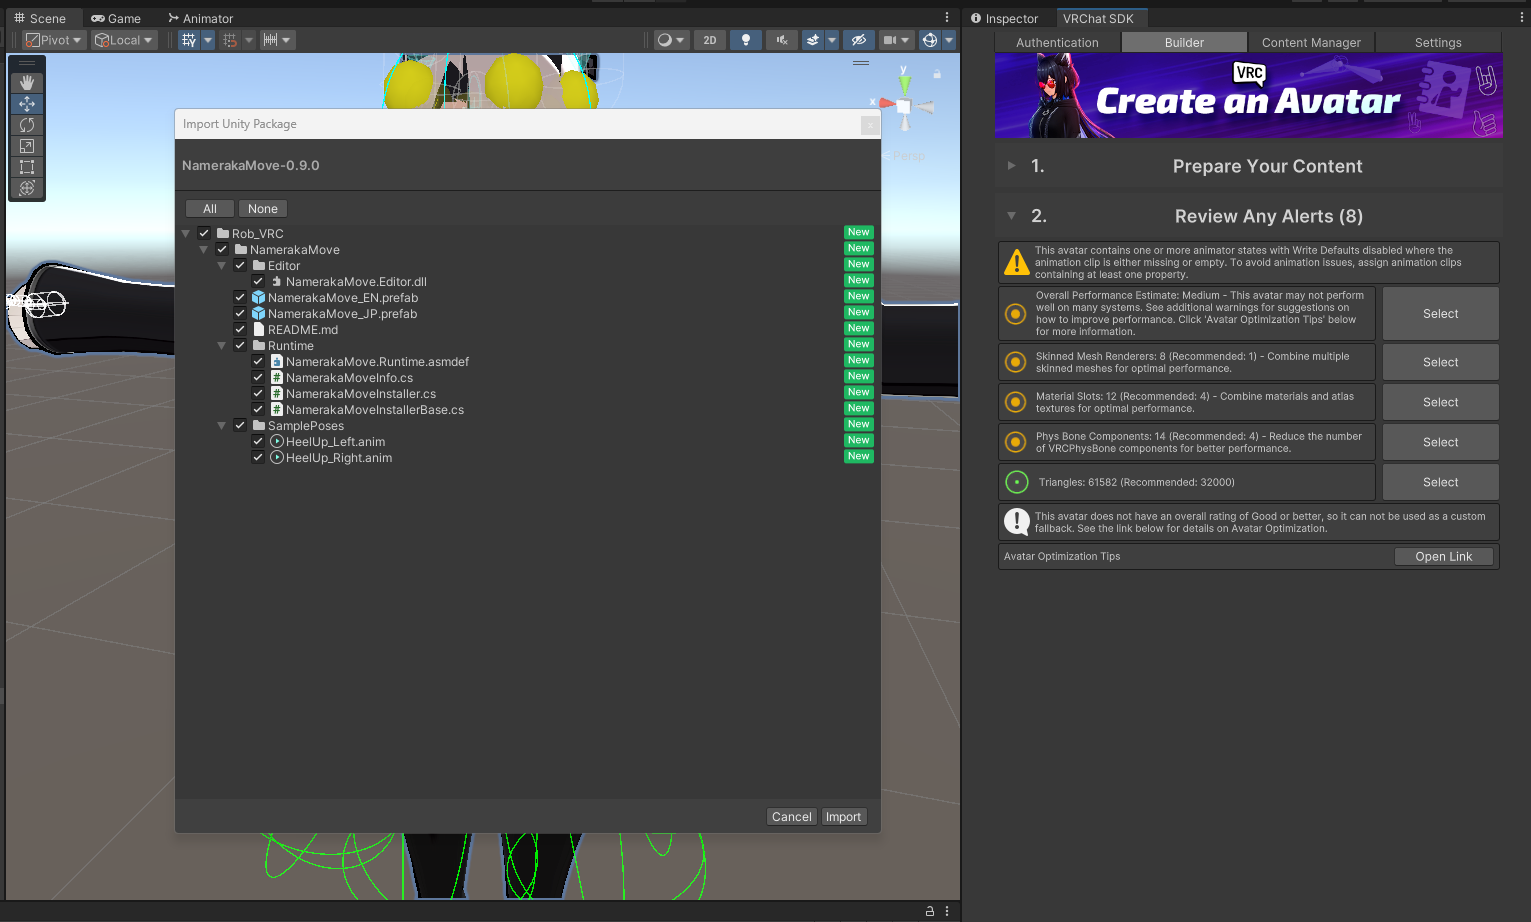
- Import the unitypackage Drag and drop the downloaded unitypackage into Unity's Project window (or choose it from the menu AssetsImport PackageCustom Package...).
- Click Import
In the confirmation window, leave everything checked and click Import. The files go into
Assets/Rob_VRC/DynamicMove.
4. Place the prefab in the Hierarchy
- Open your avatar's scene
Make sure your avatar (the object with the VRC Avatar Descriptor) is shown in the Hierarchy.
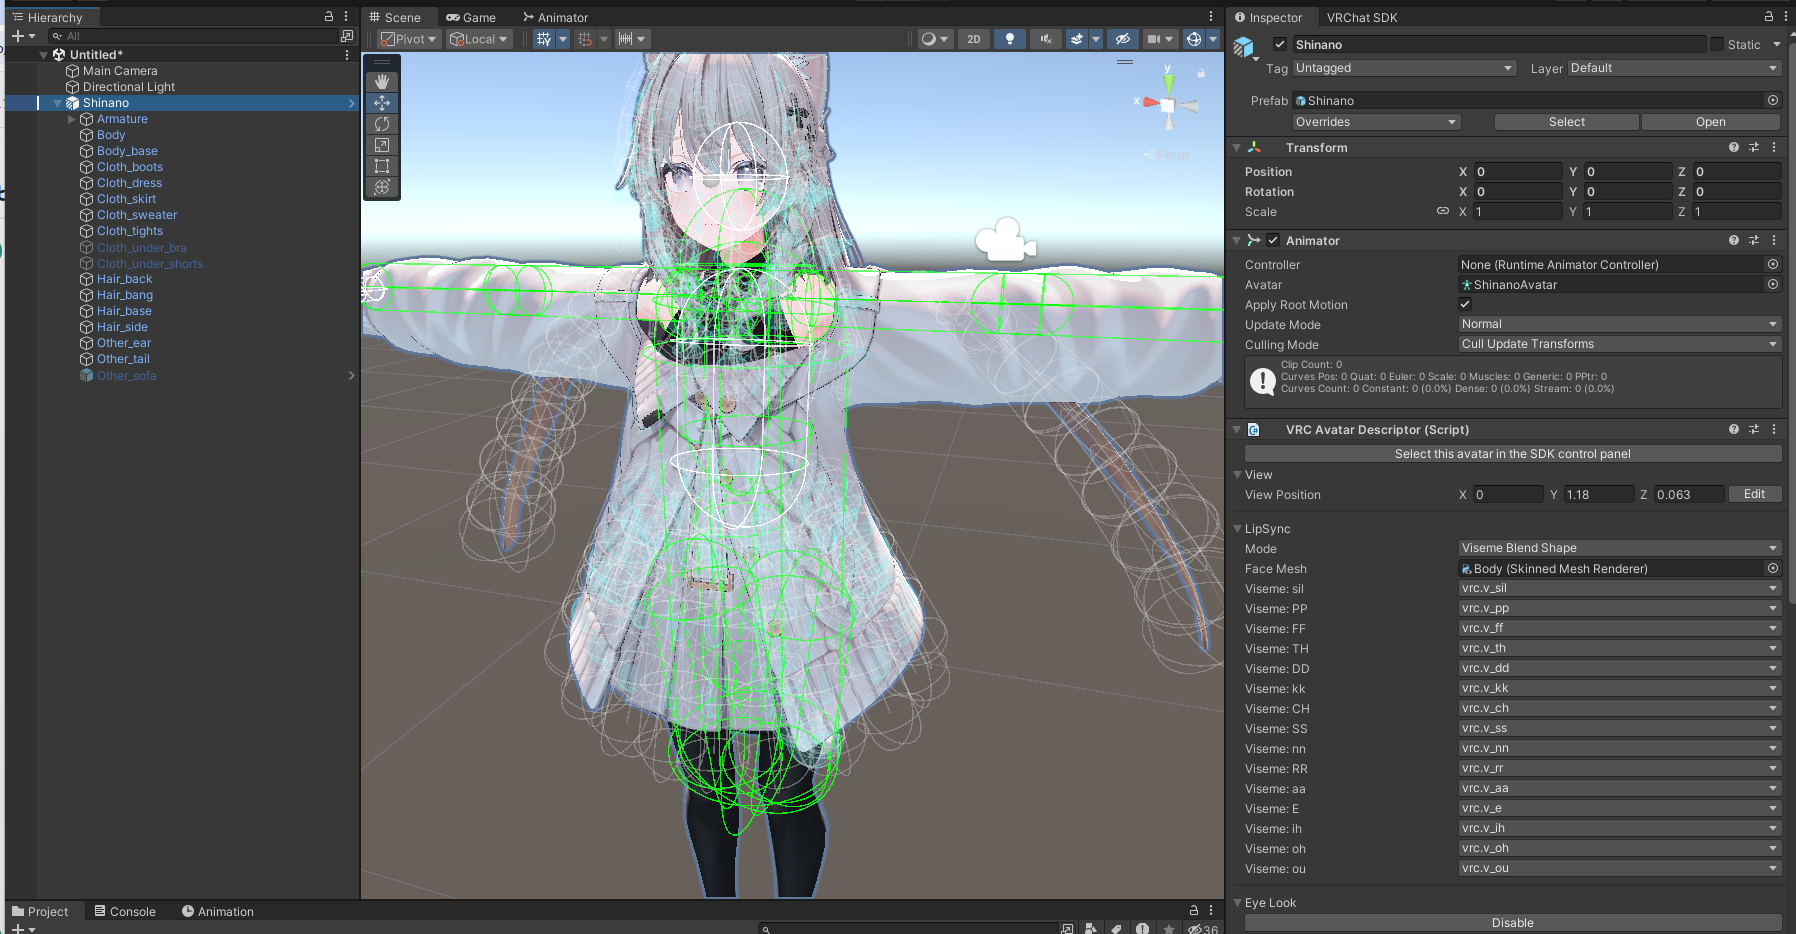
The Hierarchy with the avatar's scene open - Choose the prefab
In the Project window, open
Assets/Rob_VRC/DynamicMoveand chooseDynamicMove_ENfor English (DynamicMove_JPis the Japanese version). The prefab decides the language of the inspector and the Expression menu.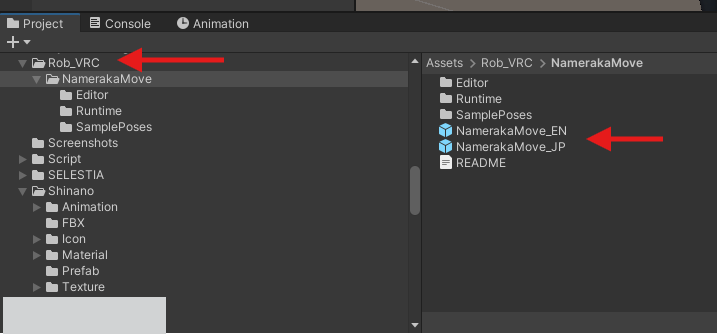
The prefab selected in the Project window (the screenshot shows DynamicMove_JP) - Drag and drop it into your avatar
Drop the prefab onto your avatar's root object in the Hierarchy so it becomes a child of the avatar (directly under the avatar is recommended).
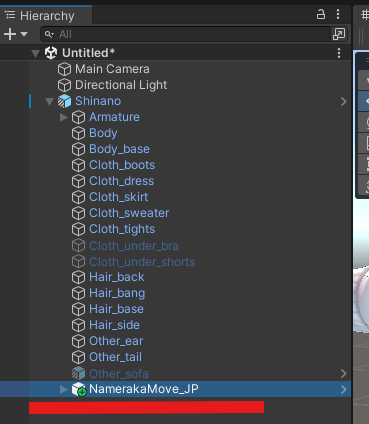
The Hierarchy with the prefab placed as a child of the avatar - Check the inspector (optional)
Select the object you added to see its settings in the inspector. The defaults are fine to start with. The Scene view shows the sensors that measure your head direction as colored spheres.
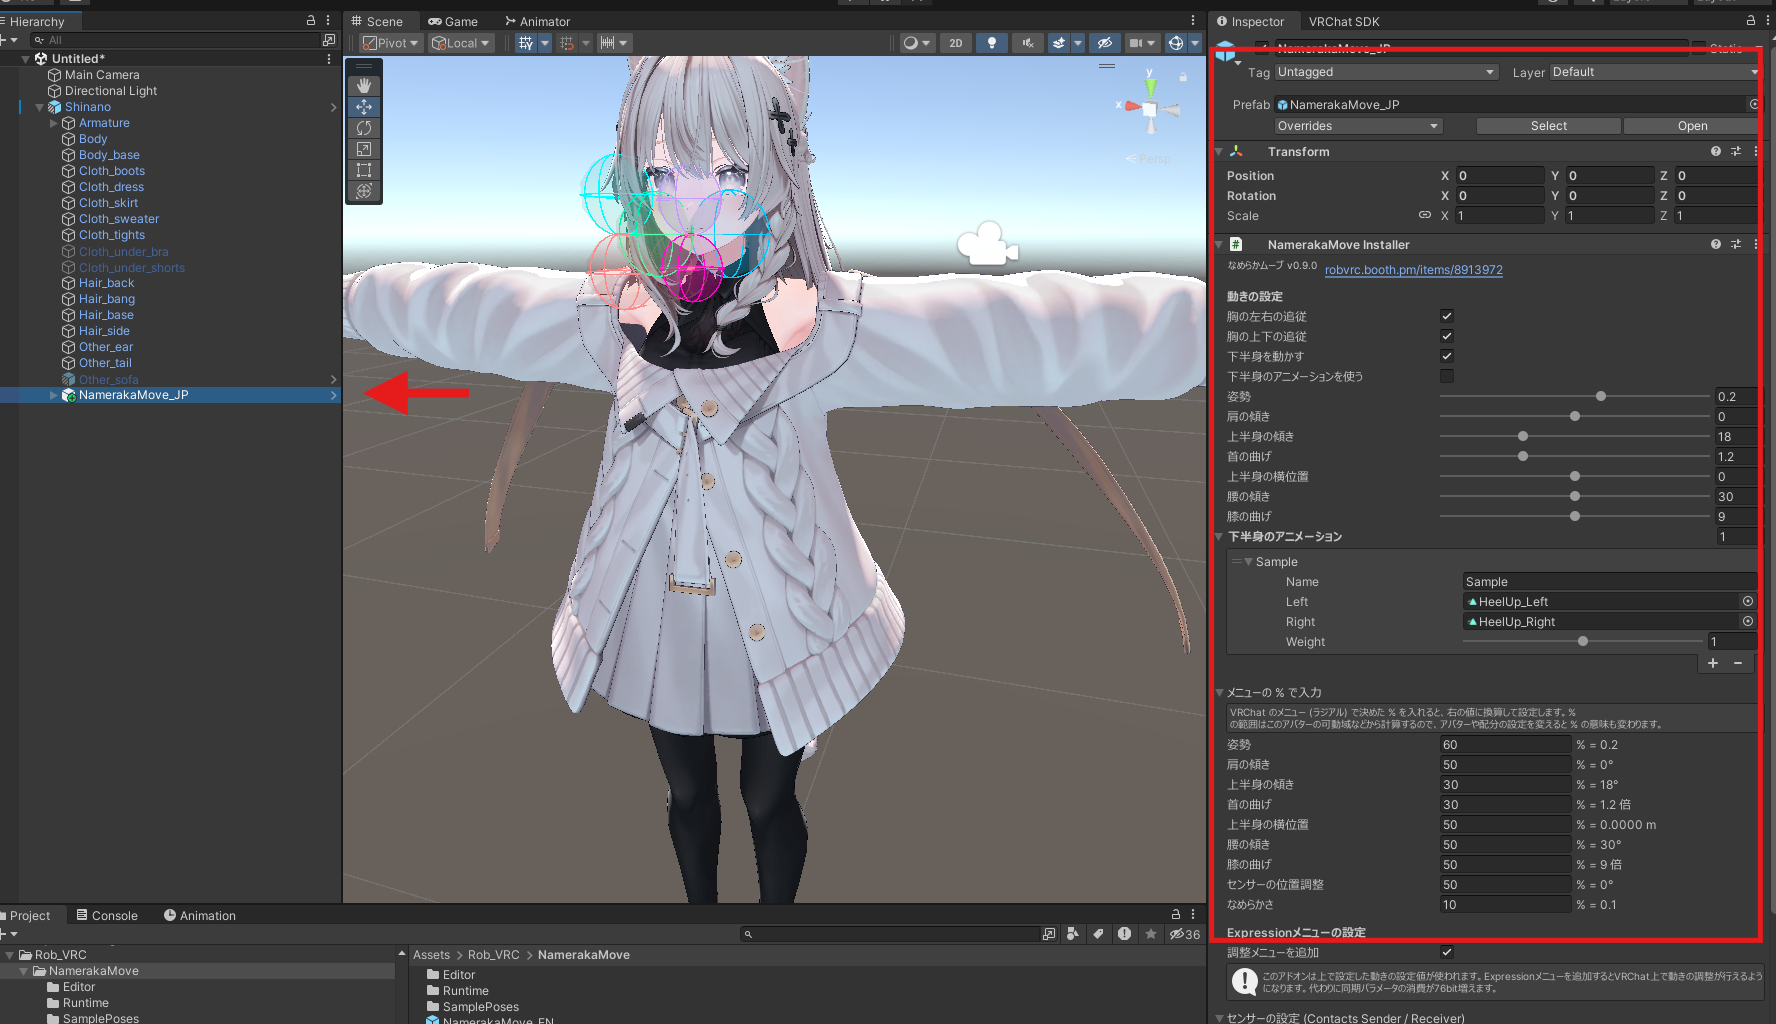
The inspector and Scene view with the prefab selected
Don't add both JP and EN. To change the language, delete the prefab you added and add the other one instead.
5. Upload
- Upload as usual Open VRChat SDKShow Control Panel, go to the Builder tab and Build and Publish as usual.
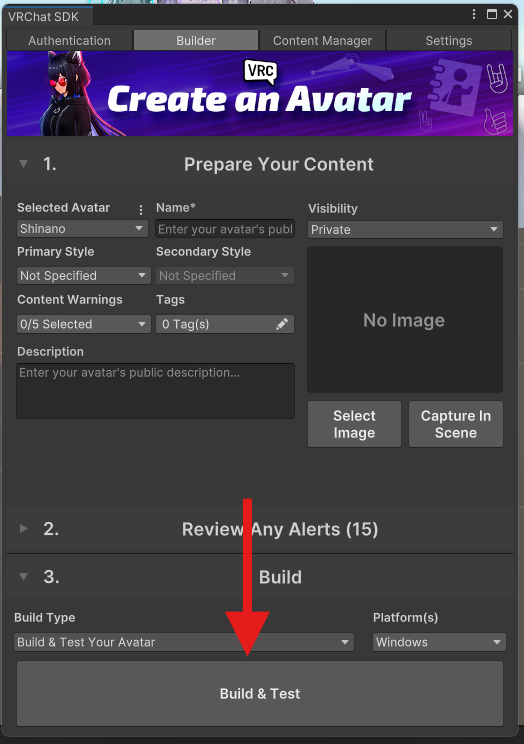
Dynamic Move uses the following synced parameters (VRChat's limit is 256 bits).
- Full version: 85 bits
- Trial: 25 bits
- Without the tuning menu: 1 bit for both
If you don't have enough, see Troubleshooting: Not enough synced parameters.
6. Check it in VRChat
- Start VRChat in VR mode Dynamic Move only works in VR mode. Switch to the avatar you uploaded.
- Check that it is enabled In the Action Menu, make sure ExpressionsDynamic MoveEnabled is ON.
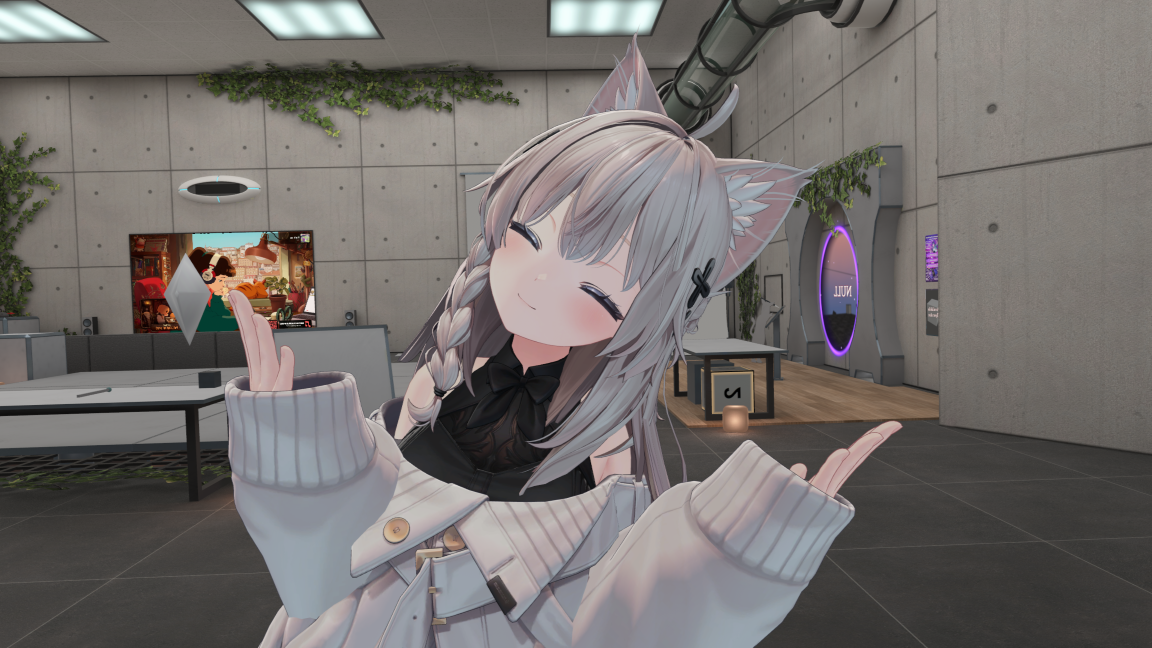
- Move your head in front of a mirror
Open a mirror and try these movements.
- Look left or right → your chest twists toward your head
- Look up or down → your chest arches / rounds
- Tilt your head left or right → your whole body bends gently, with your shoulders, hips and knees following
7. Align the sensor
The first time you use Dynamic Move on an avatar, adjust the sensor. The sensor is how this gimmick reads your head position. Avatars differ in height, so you need to adjust it for each avatar.
- Stand straight in front of a mirror Look straight ahead in your usual, natural standing posture.
- Open Sensor Height Open the Dynamic MoveSensorSensor Height radial. While it is open, the sensors are shown as translucent spheres and capsules (only you can see them, and they also appear in mirrors).
- Turn it until the small sphere is in the middle of the 4 spheres Turn the radial until the small sphere in front of your face (the Sender) is in the middle of the 4 large spheres ahead of you (top, bottom, left, right). Above 50% rotates the whole sensor setup upward; below 50% rotates it downward.
- Close the radial When you close it, the sensors disappear and the value is saved.
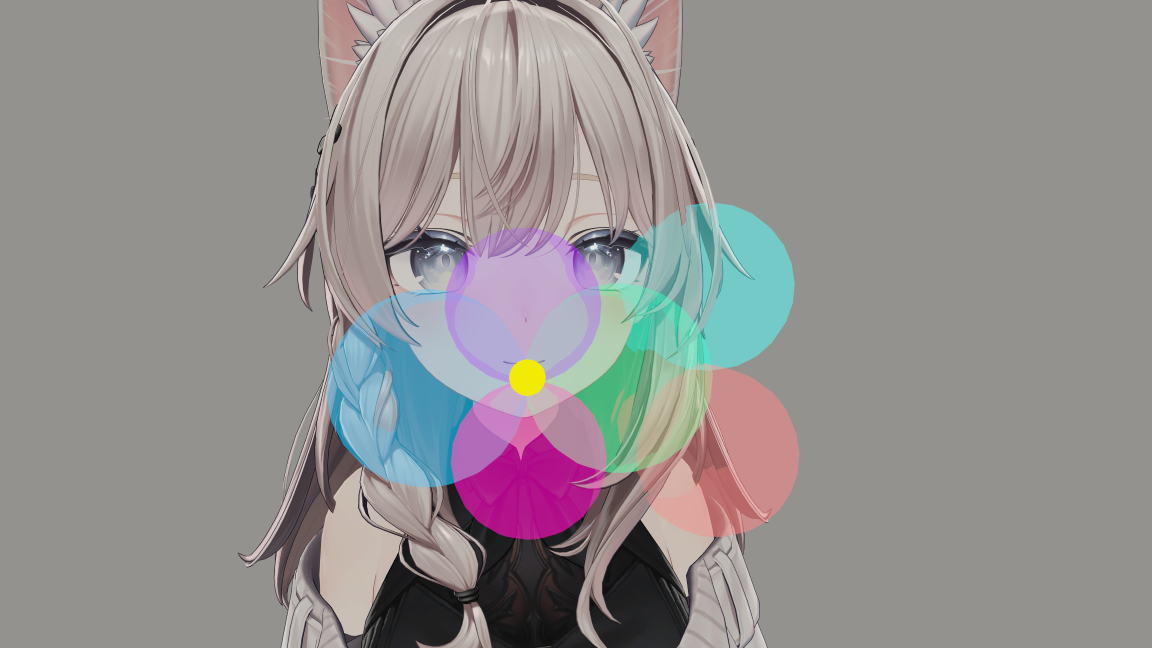
On avatars whose idle animation points the chest slightly down, looking straight ahead is read as "looking up", and the chest tends to arch. In that case, raise it a little above 50%.
If your body stays leaning to one side even though you are standing straight, open the Dynamic MoveSensorSensor Tilt radial and turn it until the small sphere to the right of your head is in the middle of the 2 capsules above and below it. For details, see Sensor Tilt.
Next, try the C-curve and S-curve motions in Recommended Settings. If it doesn't move, see Troubleshooting: It doesn't move.